I have said it before but It is important enough that I will say it again the spray nozzle is the most important part of your sprayer. if you are looking to change the Spray pattern, droplet size, or output of your sprayer you need to change your sprayer nozzle.
To change your sprayer nozzle you need to remove the cap that holds the nozzle onto the spray wand or In the case of sprayer boom, the nozzle body. On a sprayer wand the nozzle is typically held on with a threaded cap but keeps it connected to the end of the spray wand there may be a gasket inside this cap.
If you have never done this before it can be a little nerve-racking not knowing what nozzle fits your sprayer or how to connect a different type of nozzle onto your sprayer. Do not worry we are going to examine how to change your sprayer nozzle no matter the brand of nozzle or sprayer.
Changing The Nozzles On Your Lawn Sprayer
One of the most fascinating things about a sprayer is that by simply swapping out your spray nozzle you can completely change how your sprayer performs and what jobs it can accomplish. This is why knowing how to change your nozzle is vital to getting the most out of your sprayer.
Changing the nozzle on a hand sprayer or backpack sprayer is a straightforward task that can significantly improve the performance and efficiency of your sprayer.
What You Need to Change a Lawn Sprayer Nozzle
Before you start here are some important tools you will want to have.
- Replacement nozzle (ensure it’s compatible with your sprayer model)
- Adjustable wrench or pliers
- Safety gloves
- Clean cloth or rag
Safety Precautions
Chemicals can cause irritation and be hazardous to your health, so I don’t want to forget to remind you of these important safety steps:
- Wear Safety Gear: Always wear gloves and glasses to protect your hands and eyes from chemical residues or accidental spills.
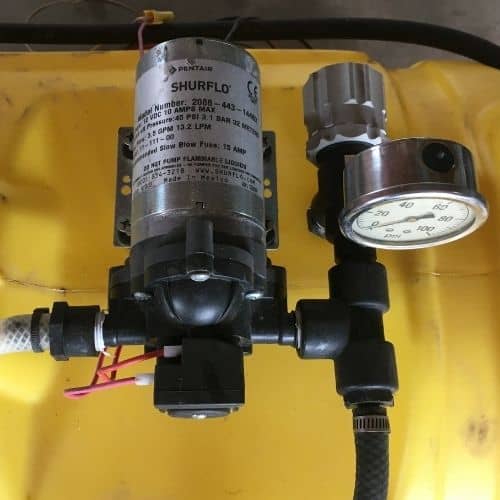
- Depressurize the Sprayer: Ensure the sprayer is not under pressure by releasing any air or liquid inside. This can usually be done by unlocking the pump handle and pressing it down slowly or opening the relief valve if your model has one.
- Empty the Tank: Make sure the tank is empty to prevent any chemical spillage during the nozzle replacement process.
Steps to Replace a Sprayer Nozzle
As you probably know there are several different brands and varieties of lawn and garden sprayers. This means there are different nozzles and different ways of retaining the nozzle on the spray wand. Putting on all nozzles from these different hand pump or backpack sprayer manufacturers are interchangeable, they are all held on in similar ways.
Often it is possible to adapt some spray tips to other sprayers, you can read more In this article about adapting sprayer tips. Here is the basic procedure to change sprayer tips on lawn and garden sprayers:
1. Remove the Old Nozzle
- Locate the nozzle at the end of the spray wand or boom.
- If your nozzle is screwed on, gently but firmly twist it counterclockwise to unscrew it.
- For nozzles held in place by a retaining cap or nut, use the wrench or pliers to loosen and remove the cap or nut, then carefully remove the nozzle.
You may need to use an adjustable wrench or pliers. Use a shop rag or cloth to cover the nozzle then use the pliers, this can help stop the teeth on the wrench or pliers from chewing up the plastic cap. Be firm but gentle.
2. Clean the Nozzle Area
Once the old nozzle is removed, use a clean cloth to wipe away any debris or residue from the nozzle seat and surrounding area. This ensures a clean connection for the new nozzle.
3. Install the New Nozzle
- Take your new nozzle and inspect it for any defects or damages to ensure it’s in good condition.
- If your sprayer uses a screw-on nozzle, align the threads and gently screw the new nozzle in place by turning it clockwise. Hand-tighten to avoid damaging the threads.
- For nozzles that require a retaining cap or nut, place the nozzle into its seat and secure it by replacing and tightening the cap or nut.
- Before tightening the cap ensure, the nozzle fan/pattern is in the correct orientation then hold it as you tighten the cap.
4. Check for Leaks
Once the new nozzle is installed, fill the sprayer with water, pressurize it, and perform a test spray. Check for any leaks around the nozzle. If you notice a leak, release the pressure in the sprayer, and slightly tighten the nozzle or cap. Be careful not to overtighten, as this can damage the nozzle or sprayer.
5. Adjustment and Calibration
- Adjust the spray pattern as needed according to your needs.
- Calibrate the sprayer to ensure accurate application rates.
Changing nozzle sizes changes the amount of liquid that you spray in a given amount of time. So if everything else remains equal, (walking speed and pressure) then you will be putting more of your spray solution onto your yard or field. Recalibrating the sprayer will ensure that you are applying the right amount.
For specific steps, read this article where we talk about calibrating a backpack sprayer. If you do not have a backpack sprayer, don’t worry, the method works for different types of hand pump sprayers and even electric sprayers.
Recommended Products – Tested & Reviewed:

Backpack Sprayer
12 Volt Sprayer Pump
Spray Wand
Reasons to Change Nozzles
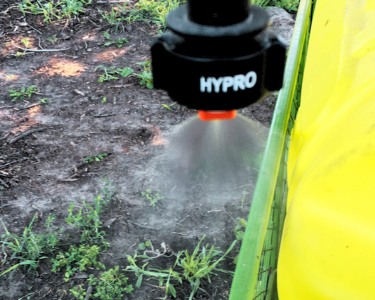
Spraying tips may seem like small components in the grand scheme of a sprayer, but they play a crucial role in determining the outcome of your application. These tips serve two primary purposes: flow regulation and producing a spray pattern
Change Spray Volume
The size of the orifice in a spraying tip directly impacts the flow rate of the liquid being sprayed. A smaller orifice results in slower flow, while a larger orifice allows for faster flow.
So if you’re spraying and your current nozzle is not providing you the volume you would like, then you can increase your nozzle size and you’ll be able to put on a greater volume of liquid in the same amount of time.
If you want to learn how to determine what size nozzle you need, then take a look at this article about spray nozzle numbers.
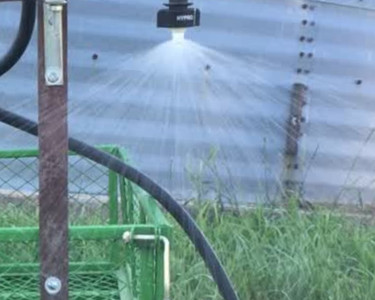
Change Spray Pattern
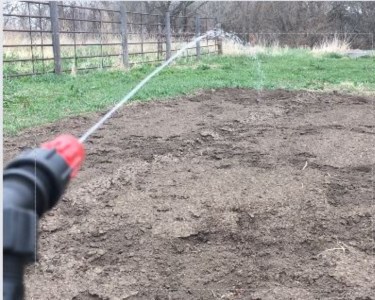
In addition to regulating flow, spraying tips also influence the shape of the fluid as it leaves the nozzle. There are many different nozzles available and they all have different applications. From flat fan nozzles that can cover a narrow strip of surface to a stream nozzle that can spray great distances. For best results, you need to match up the best nozzle for the task.
If your nozzle is not providing you with the coverage that you want, you can change your nozzle and replace it with something that produces your desired spray pattern. For example, if you were trying to spray trees that are using a flat fan nozzle with an 80° flat fan, you probably are not getting the distance you need. You would want to change to a stream nozzle or an adjustable cone/ solid stream nozzle.

Change Droplet Size
Another aspect of the spray pattern is the size of the droplets being emitted by the nozzle. The size of the droplets is crucial, as it determines how effectively the spray covers the target surface.
Small droplets tend to provide better coverage of plant tissue and other surfaces, but they are affected by wind and move off-target easily. Larger droplets are less affected by wind and tend to drift less. However, they do not cover surfaces as evenly.
When it comes to sprayer nozzles, droplet size is measured in microns. You can see a full breakdown in this guide that compares different sprayer nozzles and the droplet sizes they produce.
When to Replace Your Spray Nozzle
Another reason to change nozzles is normal wear and tear. A nozzle can last for years but with heavy use and abrasive fluids, it will wear out. Eventually, the spray pattern and the flow rate are affected to the point that it will no longer distribute liquid in the same manner.
Test Nozzles for Wear
If you just have one nozzle on a spray wand then it’s hard to compare it to anything else and notice that it’s putting out more or less liquid as a result of wear and tear. However, if you know what the original capacity of the spray nozzle was you can always do a catch test to see if it’s still within range.
To perform a catch test, you simply spray into a bucket for a minute. This allows you to measure the volume of liquid that passes through the spray nozzle in one minute. This will show you the gallons per minute output of each nozzle. If the nozzle disperses more liquid than it was originally intended, then you can replace it with a new nozzle.
If you have multiple nozzles on a spray boom you can do this test for each one, and replace nozzles that are more than 5% outside of the average capacity of all of your spray nozzles.
Check Nozzle Spray Patterns
If your spray pattern is uneven or inconsistent this is another sign that you need to replace your nozzle. On a spray boom with multiple nozzles, this is easy to notice. Even spray patterns are crucial for consistent coverage and effective results, so checking and replacing nozzles as needed will result in much better results.
You may be able to restore a spray nozzle by cleaning it. Chemical residue and debris can distort the spray pattern. For a detailed look, check out this simple method to clean sprayer nozzles.
Final Word
Changing your spray nozzle is an effective way to transform the way your lawn sprayer works. Although small, a different nozzle can equip you to tackle a diverse range of spraying tasks. This simple step can make your basic lawn sprayer a powerful tool!